BlackWell is one of the best WordPress One page theme that contains many effective features to provide an amazing look to your website.
It is very important to have all the knowledge about the theme and how to use it in order to set up a profitable WordPress website.
So this tutorial covers the following points to make you understand about how to use the BlackWell One Page WordPress theme on your website.
- Introduction to BlackWell theme.
- How to install BlackWell theme?
- How to create Menus?
- How to create drop-down menus?
- How to create pages?
- How to create blog posts?
- How to create Portfolio Gallery?
- How to use the various functions of the Theme Options Panel?
Follow these links for watching various BlackWell theme previews –
https://www.inkthemesdemo.com/wptheme/blackwell-interiordesign/
https://www.inkthemesdemo.com/wptheme/blackwell-coffeeshop/
Let us discuss the above topics one by one.
Introduction to BlackWell Theme
As mentioned already BlackWell is a One Page Business Theme for WordPress websites. The theme lets you represent your business very attractively and effectively. It’s an amazing business based portfolio theme.
BlackWell theme has many useful and attractive features such as full-screen slider, dynamic adjustable sidebar, video section, attractive gallery and blog section, full-width contact map, and etc.
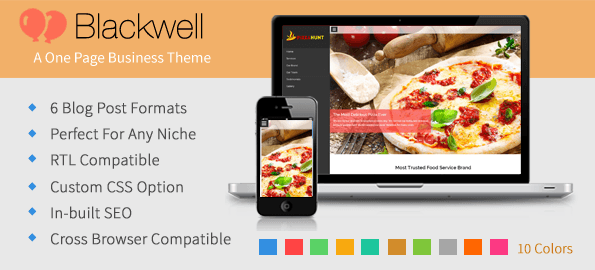
The core features of the BlackWell theme are as follows:
- Full-Screen Slider Image.
- Dynamic Sidebar.
- Three Column Feature Section.
- Home Page Video Section.
- Team Members’ Profile Section.
- Home Page Testimonial Section.
- Home Page Portfolio Section.
- Clients’ Logos Section.
- Home Page Blog Section.
- Home Page Contact Form Section.
- Home Page Contact Map.
The one page theme features can be easily customized from the Theme Options Panel.
BlackWell theme is extremely easy to install and use.
It allows you to create your website within no time and any business professional can create a website with theme without any difficulty.
InkThemes wishes you a happy website building with this theme.
How to Install BlackWell Theme?
Before installing this BlackWell theme on your website make sure that:
- You have a web server installed on your machine.
- You have installed WordPress on your server.
Installing the theme is very simple and easy. It will hardly take a minute.
Just follow the simple steps given below.
Go to your WordPress dashboard to install the theme and follow these steps.
Dashboard -> Appearance -> Themes -> Add New

Choose the downloaded ‘blackwelltheme.zip’ and upload it on your dashboard.

Upload -> Choose File -> Install Now
Click on ‘Activate’ and your Website is ready.
How to Create Menus?
Creating the menus is very simple. Follow the directions provided below:
Go to Dashboard -> Appearance -> Menus
Then, click on ‘create a new menu’ -> Enter Menu Name, let’s say ‘Menu’.

Click on Create Menu.
The menu is created.
Now select the menu location where you want this menu to appear. Checkmark both Main Menu and FrontPage menu if you want to show the same menu on both the locations.
Directly switching to any particular section
Now, for directly visiting any particular section in the homepage, you need to link various sections to the menu. This will help your visitors to skip scrolling up and down. Just by clicking on any section showing in the sidebar, they will be navigated to that particular page.
Follow these steps to link the homepage sections with the menu.
After your menu is created, go to ‘Links’.
Here are the links for the various sections:
Links Section
#top Home
#section1 Features
#section2 Video
#section3 Team Members
#section4 Testimonials
#section5 Portfolio
#section6 Clients Logo
#section7 Blogs
#section8 Contact Us
Add links for various sections one by one by clicking on ‘Add to Menu’.
Click on ‘Save Menu’.
See the example given in the image below.

Link for ‘Home’ section in the menu is created.
Click on Save Menu to save the changes.
How to Create Dropdown Menus?
You may need other pages also. You can add pages as sub-items for any menu item which will appear when a menu item will be hovered.
Just look at the image below:
‘Business’ Page is added to the menu.

Now under this category, you can keep all your blogs related to business.
Just drag and place this item under blog menu to create a drop down.

Similarly, you can add sub-items for any menu items by simply shuffling their positions with drag and drop.
How to Create Pages?
To create a page, follow these steps:
Go to Dashboard -> Pages -> Add New
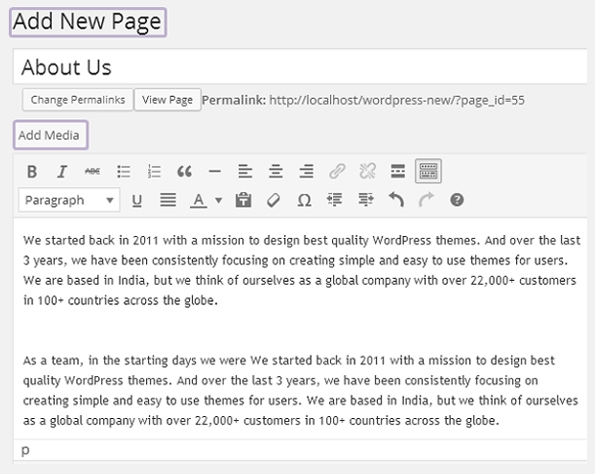
Enter your page title and content, select page template if you want, and then click on ‘Publish’.
How to Create Blog Posts?
In BlackWell one page WordPress theme, you can publish various blog post formats such as:
Standard
Image
Gallery
Video
Link
Quote
Select a format for any kind of post that you create.
Follow these steps for creating a blog post:
Go to Dashboard -> Posts -> Add New
Create your post, add images from the ‘Add Media’ option.

- Provide embed code in case of a video post.
- Set Featured image.
- Select a category for your post.

- Set featured image, select category.
- Click on ‘Publish’.
How to Create a Portfolio Gallery?
Go to Dashboard -> Portfolio Gallery -> Add New
Click on ‘Add Media’ to add images.


Click on ‘Publish’.
How to use the various functions of the Theme Options Panel?
BlackWell WordPress theme has enormous features that you can use from the Theme Options Panel.
Go to Dashboard -> Appearance -> Theme Option Panel
You can fully customize your theme from the Theme Options Panel.
Below are the features that you can customize from the theme options panel.
Upload Logos, Favicon, Background Image, etc.
Theme Options Panel -> General Settings
Here you can also add a background image in your theme, a top header background image, and mention your contact details here which will be displayed on the top right corner of the homepage.
Here you can also add Google Analytics tracking code.

Then click ‘Save All Changes’.
Manage The Slider Settings
You can add six images to the slider section that’ll appear one by one.
The optimal size for the images is 1600px wide x 900px height, but it can be varied as per your requirement.
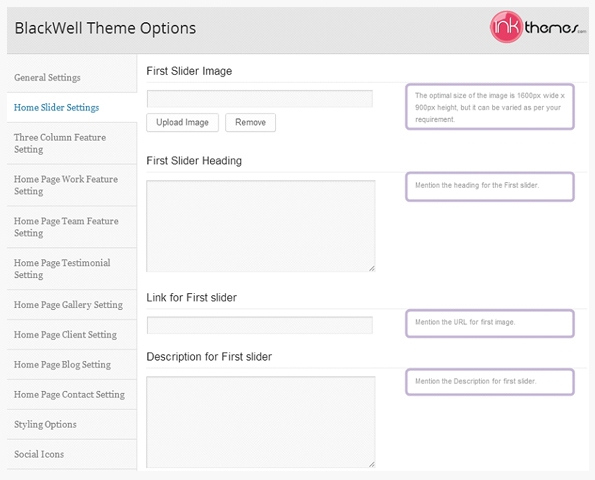
Mention the headings and descriptions to appear in the slider images, provide redirecting links and save the changes.
Three Column Feature Area Settings
Here, mention the heading for your three column feature area.
Provide a short description.
Enter the CSS class of the icons you want to use on your first column feature.
You can find a list of icon classes here. Go to this link. Now you just need to replace the text following ‘fa-’.
For example- Change fa-book to fa-microphone.
Integrate a URL link to redirect people from the icons.
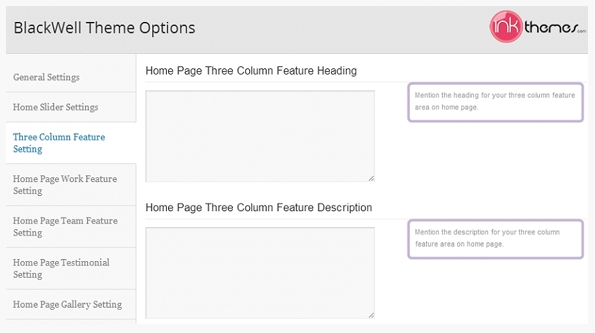
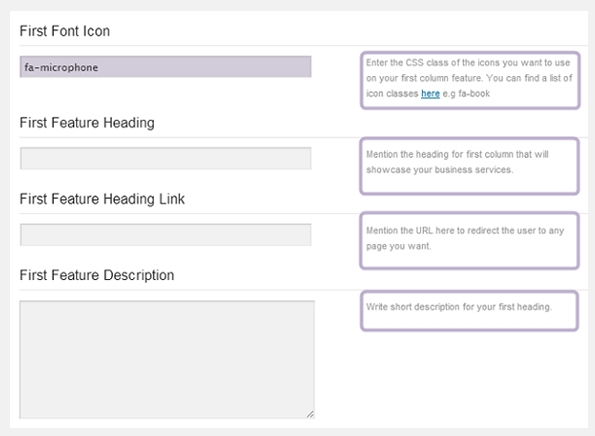
Click on ‘Save All Changes’.
Video Section Settings
In the Theme Options Panel, this section will show as ‘Home Page Work Feature Settings’.
Here you can provide a heading and a short description for the video section.
Copy the embed code of a video and paste in the box provided here.
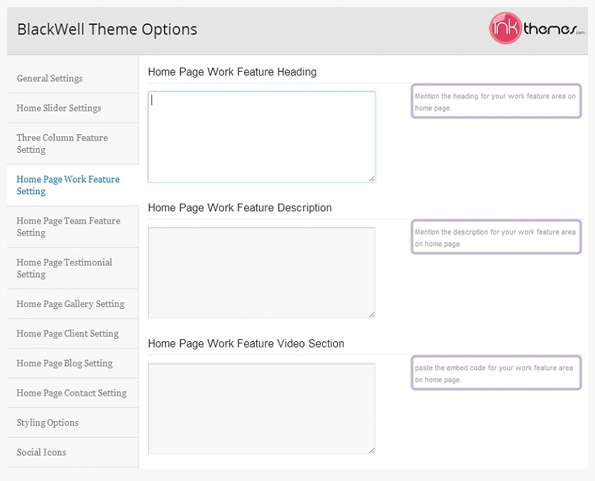
Now you are done with the video section.
Click ‘Save All Changes’.
Home Page Team Feature Settings
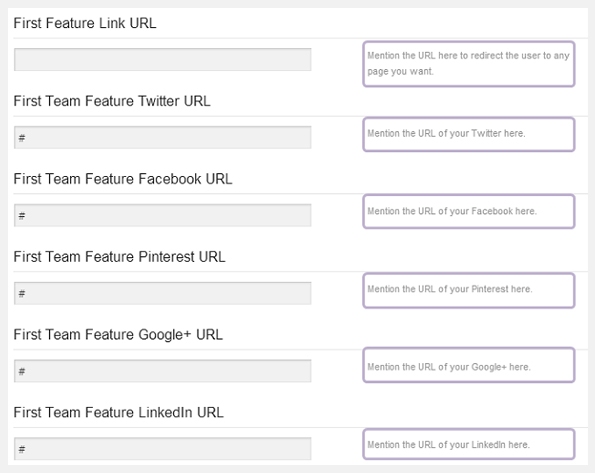
From here, you can provide title and description for the team members section.
In this section, you can show your team members’ profile and to let people connect to their social media profiles.
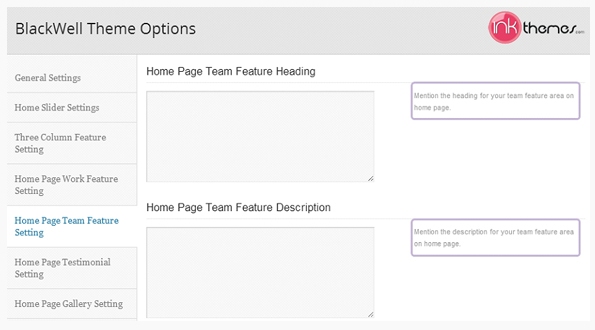
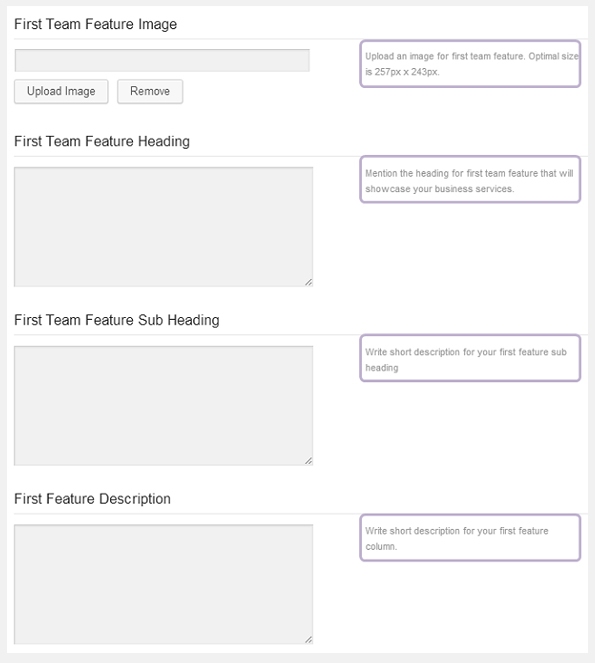
Using the Testimonials section
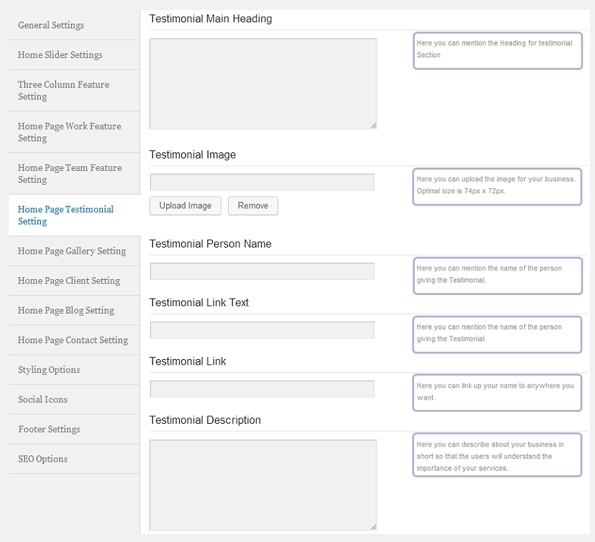
Theme Options Panel -> Home Page Testimonial Settings
You can display three testimonials.
Using Home Page Gallery Section
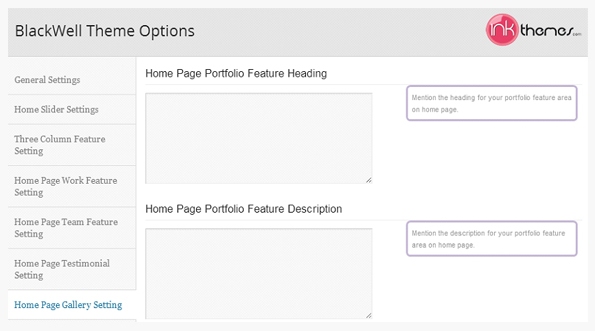
Theme Options Panel -> Home Page Gallery Section
From this section, you can provide a title and description to your Portfolio Section.
Using Home Page Clients Section
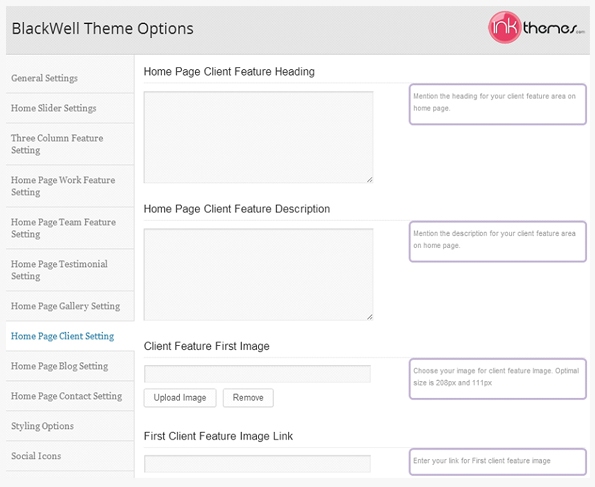
Theme Options Panel -> Home Page Client Settings
You can use this section for displaying logos of your clients to feature them on your website.
Simply Upload their logos.
Provide a redirect link for the images.
You can add 15 logos.
Then click on ‘Save All Changes’.
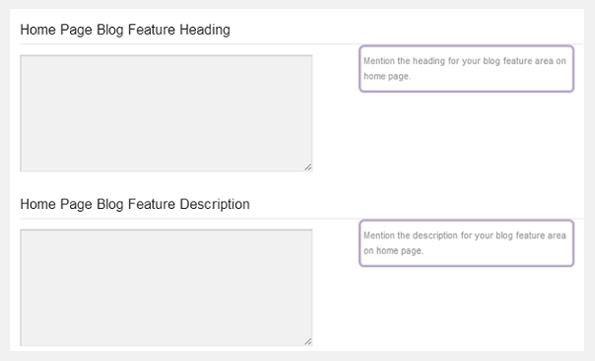
Home Page Blog Section Settings
Here, you provide a title and description to show in the blog section on your Home Page.
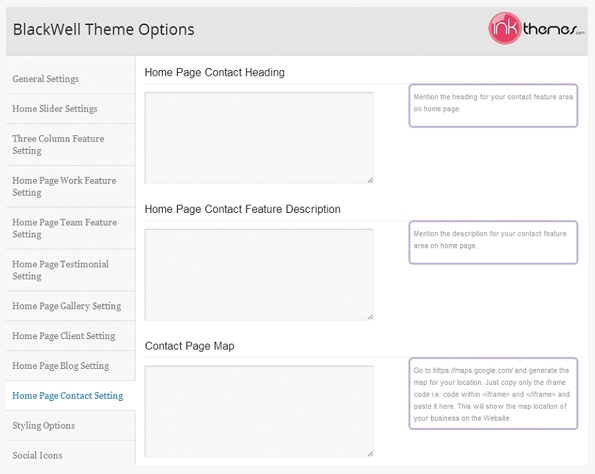
Home Page Contact Settings
Here, you provide a title and description for the contact section that’ll display on top of the section.
To display a contact page map, copy the iframe code i.e. code within <iframe> and </iframe> and paste it in the provided ‘Contact Page Map’ box.
Then click on ‘Save All Changes’.
Use the Styling Options
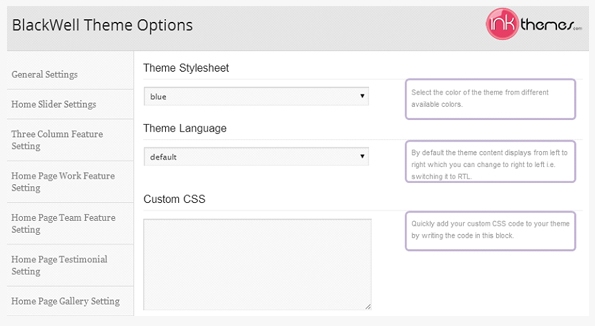
Theme Options Panel -> Styling Options
Now change your theme color, manage content arrangement settings or add Custom CSS to give your theme the desired appearance.
Then click on ‘Save All Changes’.
Using Social Icons
There are various social icons available in the theme.
The social icons will be displayed in the footer.
You need to follow these simple provided below.
Dashboard-> Appearance -> Theme Options -> Social Icons
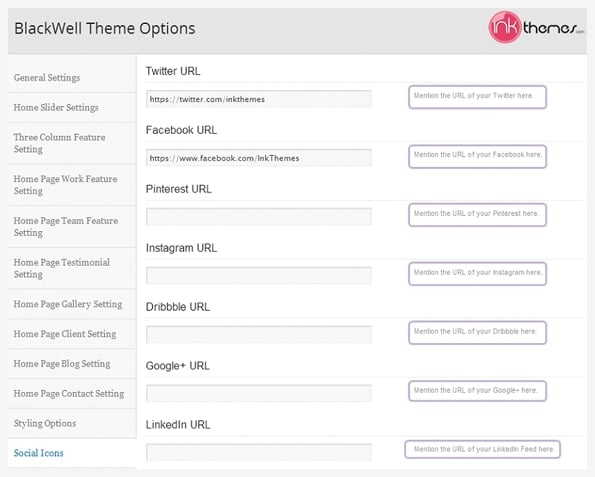
Mention the URLs and click on ‘Save All Changes’.
Footer Settings
Theme Options Panel -> Footer Settings
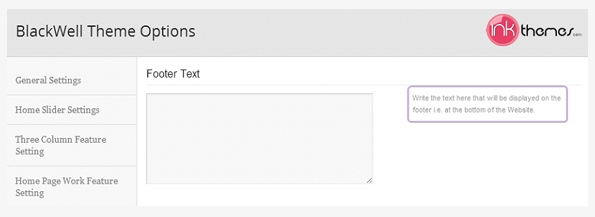
Here you can enter a text that will be displayed in the footer of the Homepage.
Like other themes of InkThemes, BlackWell one page WordPress business theme is also extremely easy to install and setup and you’d love creating your website with this theme.
Apart from this, the InkThemes help desk support is always available to provide on time solution whenever you face any difficulty or problem.
In case if you need any help regarding theme tutorials, you can follow InkThemes YouTube channel.
https://www.youtube.com/channel/UCxrV5C3YZ8p2Zq_n70cN9aQ
http://www.youtube.com/user/InkThemes (for our older themes)
You can follow InkThemes on Social Networks:
https://www.facebook.com/InkThemes
If you have any questions that are beyond the scope of this documentation, you can freely ask it on our support forum.
Here is the link you need to follow- https://www.inkthemes.com/community/
Get BlackWell theme- https://www.inkthemes.com/members/signup/B93Wg1HDi


